Explore the Black Hat Developers Help Center
Search the guide to quickly find help about accounts, posting, replying, and managing your activity in the community.

Getting started with your Black Hat Developers account
How to sign in
Signing in gives you access to your dashboard, saved activity, community features, and developer tools. Follow the steps below to securely access your account.
-
Open the sign-in page.
Click the Sign in button located at the top-right corner of the website header. This will take you to the secure login page. -
Enter your email address.
Use the email you registered with. This could be:- Your personal email address used to create a Black Hat Developers account
- A work or organization email provided by your company or team
-
Type your password.
Enter your password carefully. Passwords are case-sensitive, so double-check your spelling and ensure Caps Lock is off. -
Complete any security verification.
For your protection, you may be asked to verify your identity through email confirmation or another security step. -
Click “Sign in”.
After entering your details, select the sign-in button to access your account and continue to your dashboard or previous page.

If you see the wrong email on the sign-in screen
Your browser may automatically show an account that is already signed in. If this isn’t the account you want to use, choose Use another account and enter the correct email and password.
Forgot your password?
Select the Forgot password? link on the sign-in page and follow the instructions to reset it. Make sure to choose a strong password you haven’t used before.
Need to try again?
If the page timed out or an error occurred, you can safely retry signing in.
Still can’t sign in?
Your account may not be registered yet, your password may be incorrect, or the account could be temporarily locked. Visit our Support page or Contact us for help.
Create a new Black Hat Developers account
How to create an account
Creating an account allows you to participate in the community, save your progress, access developer tools, and manage your profile. Follow the steps below to get started.
-
Open the registration page.
Click the Sign in button in the website header, then select Create account on the sign-in screen. -
Enter your email address.
Use a valid email address that you have access to. This will be used for account verification, password recovery, and important notifications. -
Create a secure password.
Choose a strong password that includes a mix of letters, numbers, and symbols. Avoid using easily guessed information such as your name or birthdate. -
Fill in your basic profile details.
You may be asked to provide your name, username, or other basic information to complete your profile setup. -
Verify your email address.
A verification email will be sent to you. Open the email and click the confirmation link to activate your account. -
Finish setup and sign in.
Once your email is verified, return to the Sign in page and log in with your new credentials.
Didn’t receive the verification email?
Check your spam or junk folder. If you still can’t find it, return to the registration page and request a new verification email.
Already have an account?
If you’ve already registered, you can go directly to the Sign in page.
Need help creating an account?
If you run into problems, visit our Support page or Contact us for assistance.
Manage your account settings
How to change your account settings
Your Account Center lets you update personal details, security settings, and notification preferences. Keeping your account information current helps protect your profile and ensures you receive important updates from the Black Hat Developers community.
-
Open the Account Center.
After signing in, access the Account Center from the website menu or your profile dropdown. -
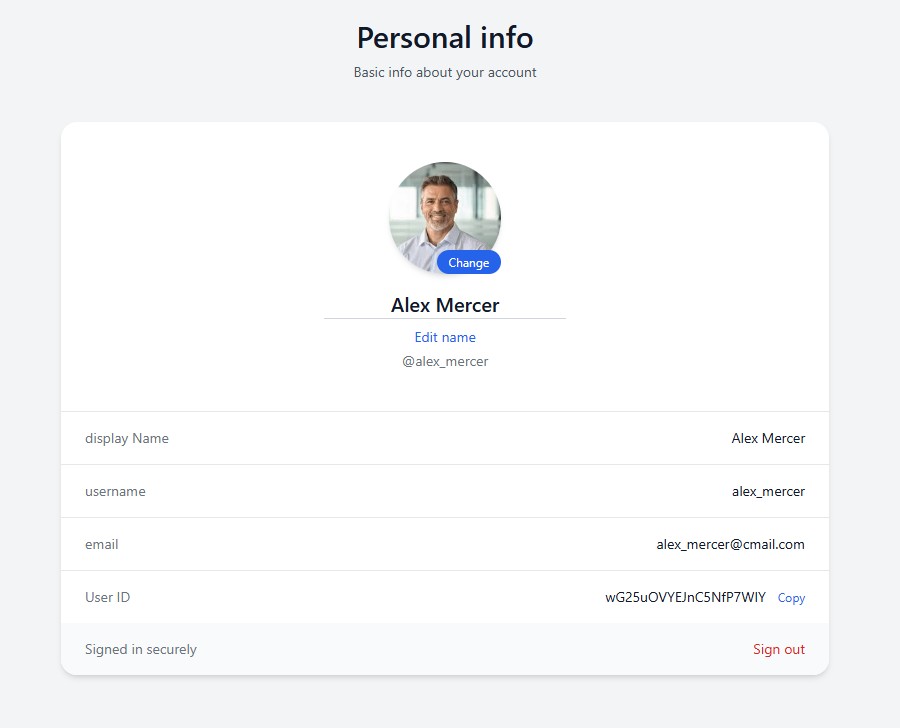
Update your profile information.
In the profile section, you can edit:- Your display name or username
- Profile picture or avatar
- Bio or short description (if available)
-
Change your email address.
If you update your email, you may be required to confirm the new address through a verification link. This helps protect your account from unauthorized changes. -
Update your password.
For security, enter your current password before choosing a new one. Use a strong password that includes a combination of uppercase and lowercase letters, numbers, and symbols. -
Manage notification preferences.
Choose how and when you receive updates about community activity, replies, announcements, and system alerts. -
Review connected services (if available).
Some accounts allow linking external services or login providers. Review these connections regularly and remove any you no longer use. -
Save your changes.
After making updates, click the save or confirm button (if shown). Some changes may take effect immediately, while security-related updates may require re-verification.
Can’t edit certain information?
Some account details may be restricted for security reasons. If you need help updating locked information, please visit the Support page.
Security tips
- Never share your password with anyone
- Use a unique password that you don’t use on other sites
- Update your password immediately if you suspect unusual activity
Need more help?
If you're having trouble accessing or updating your account, visit our Support page or Contact us.
Participate in the community
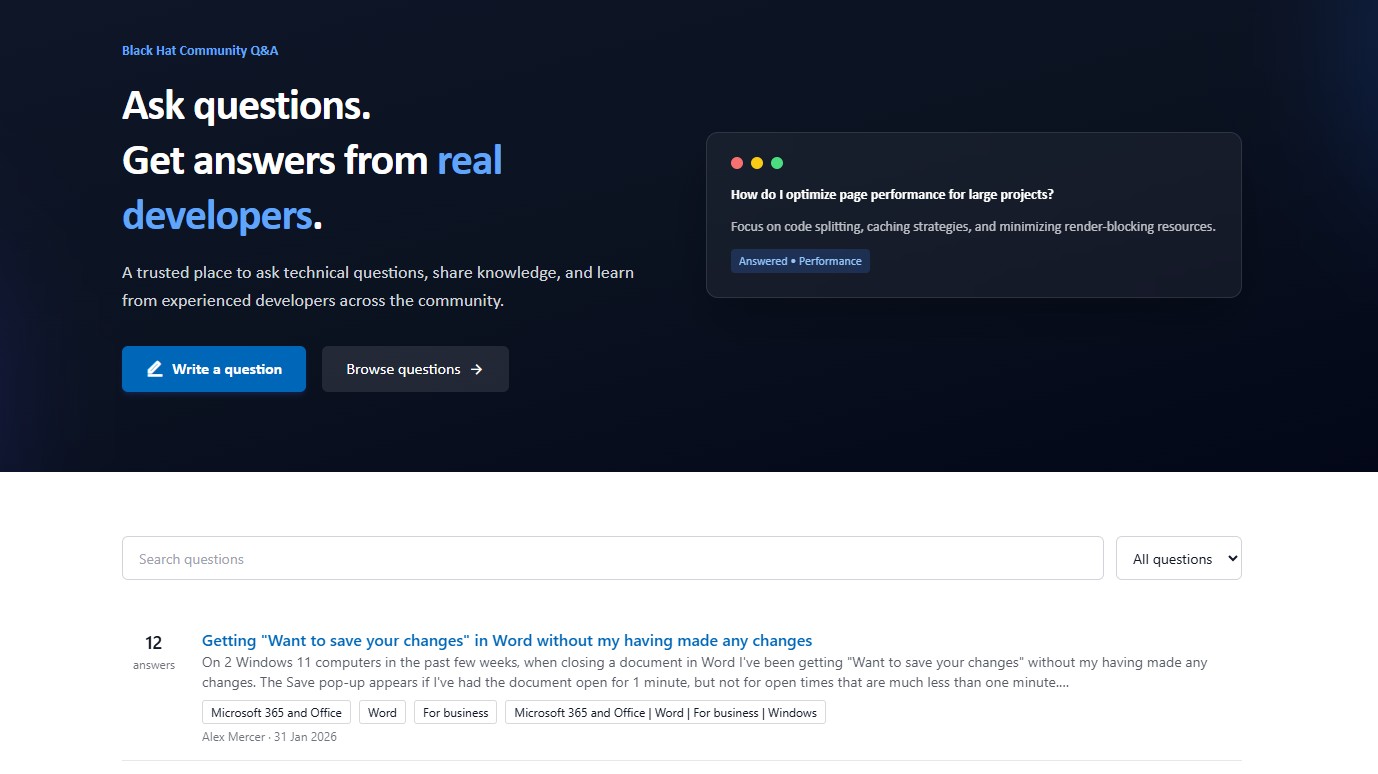
How to post and ask a question
Asking questions helps you learn faster and connect with other developers. You must be signed in before you can post in the community.
-
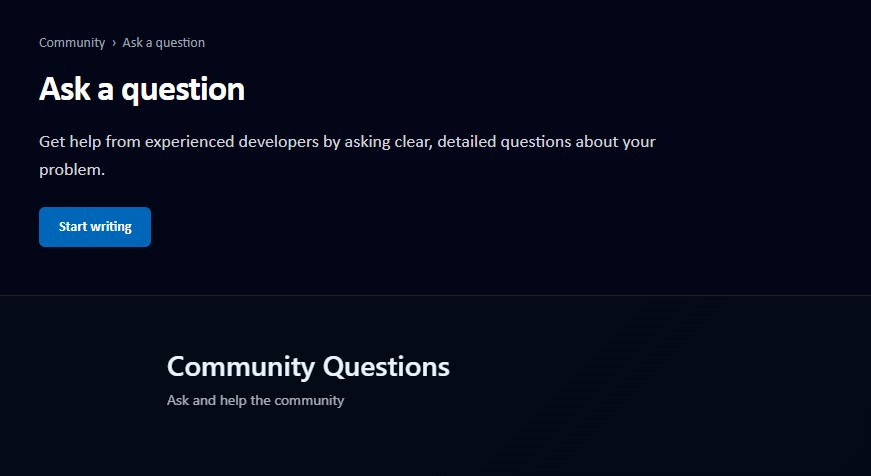
Go to the Ask a Question page.
Open the Ask a Question page from the community menu. -
Sign in if prompted.
If you are not logged in, you will be asked to sign in before you can continue. -
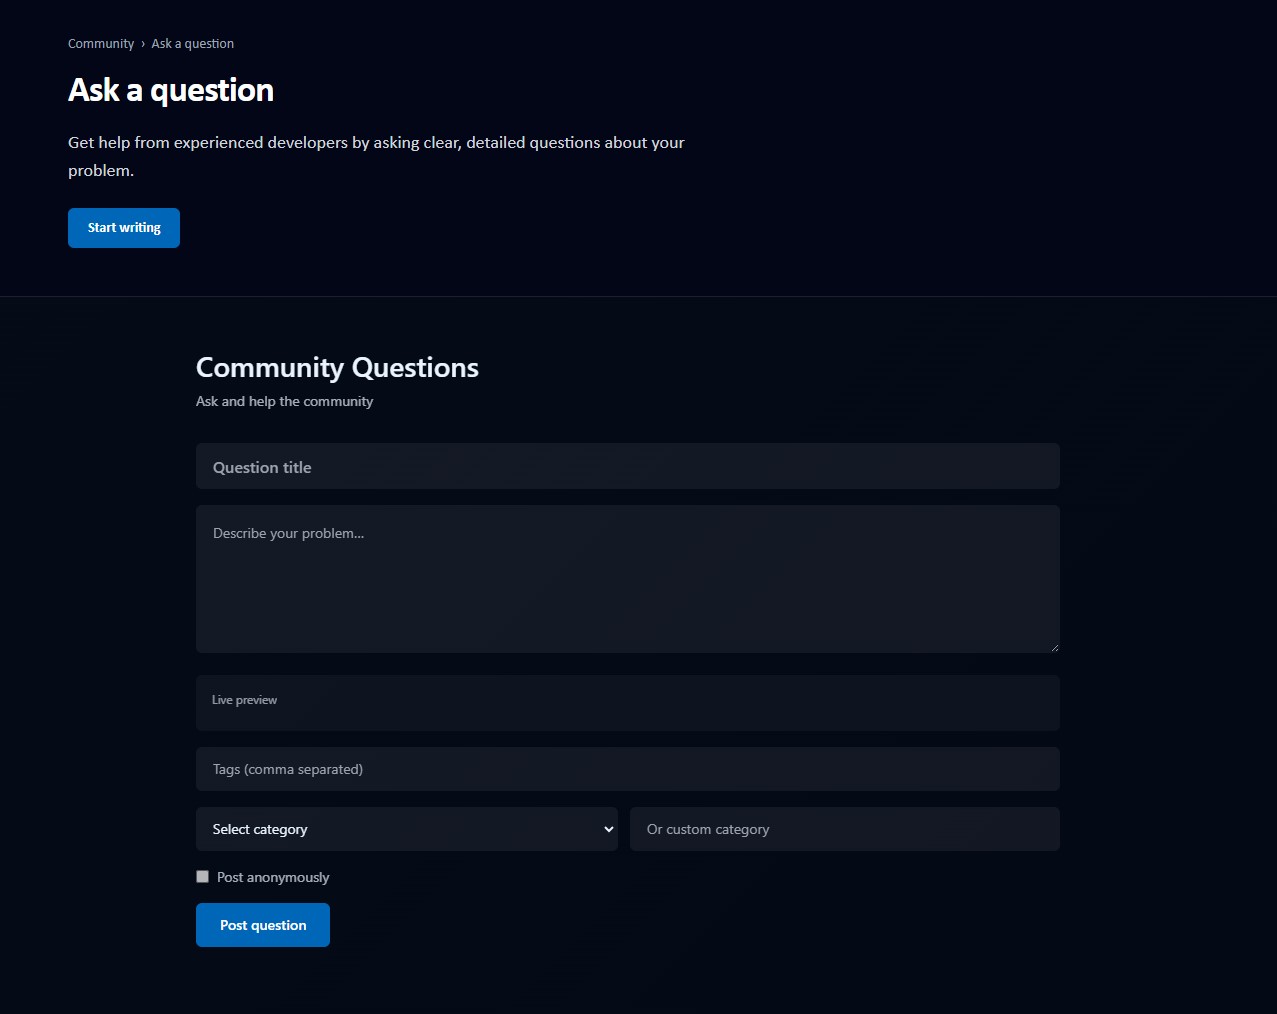
Enter a clear question title.
Write a short and descriptive title that explains your issue or topic. -
Describe your question in detail.
Include helpful details such as:- What you are trying to do
- What problem you are facing
- Any error messages or unexpected results
-
Add tags or choose a category.
This helps the right people find and answer your question faster. -
Review your post.
Make sure your question is clear, respectful, and contains enough information. -
Submit your question.
Click the post button to publish your question to the community.
Tips for better answers
- Be specific about your problem
- Include examples or screenshots if helpful
- Use clear and simple language
Follow community guidelines
Stay respectful and professional. Do not share private or sensitive information in public posts.
Need help signing in or posting?
Try signing in again, then return to the Ask a Question page. You can also visit Support or Contact us.
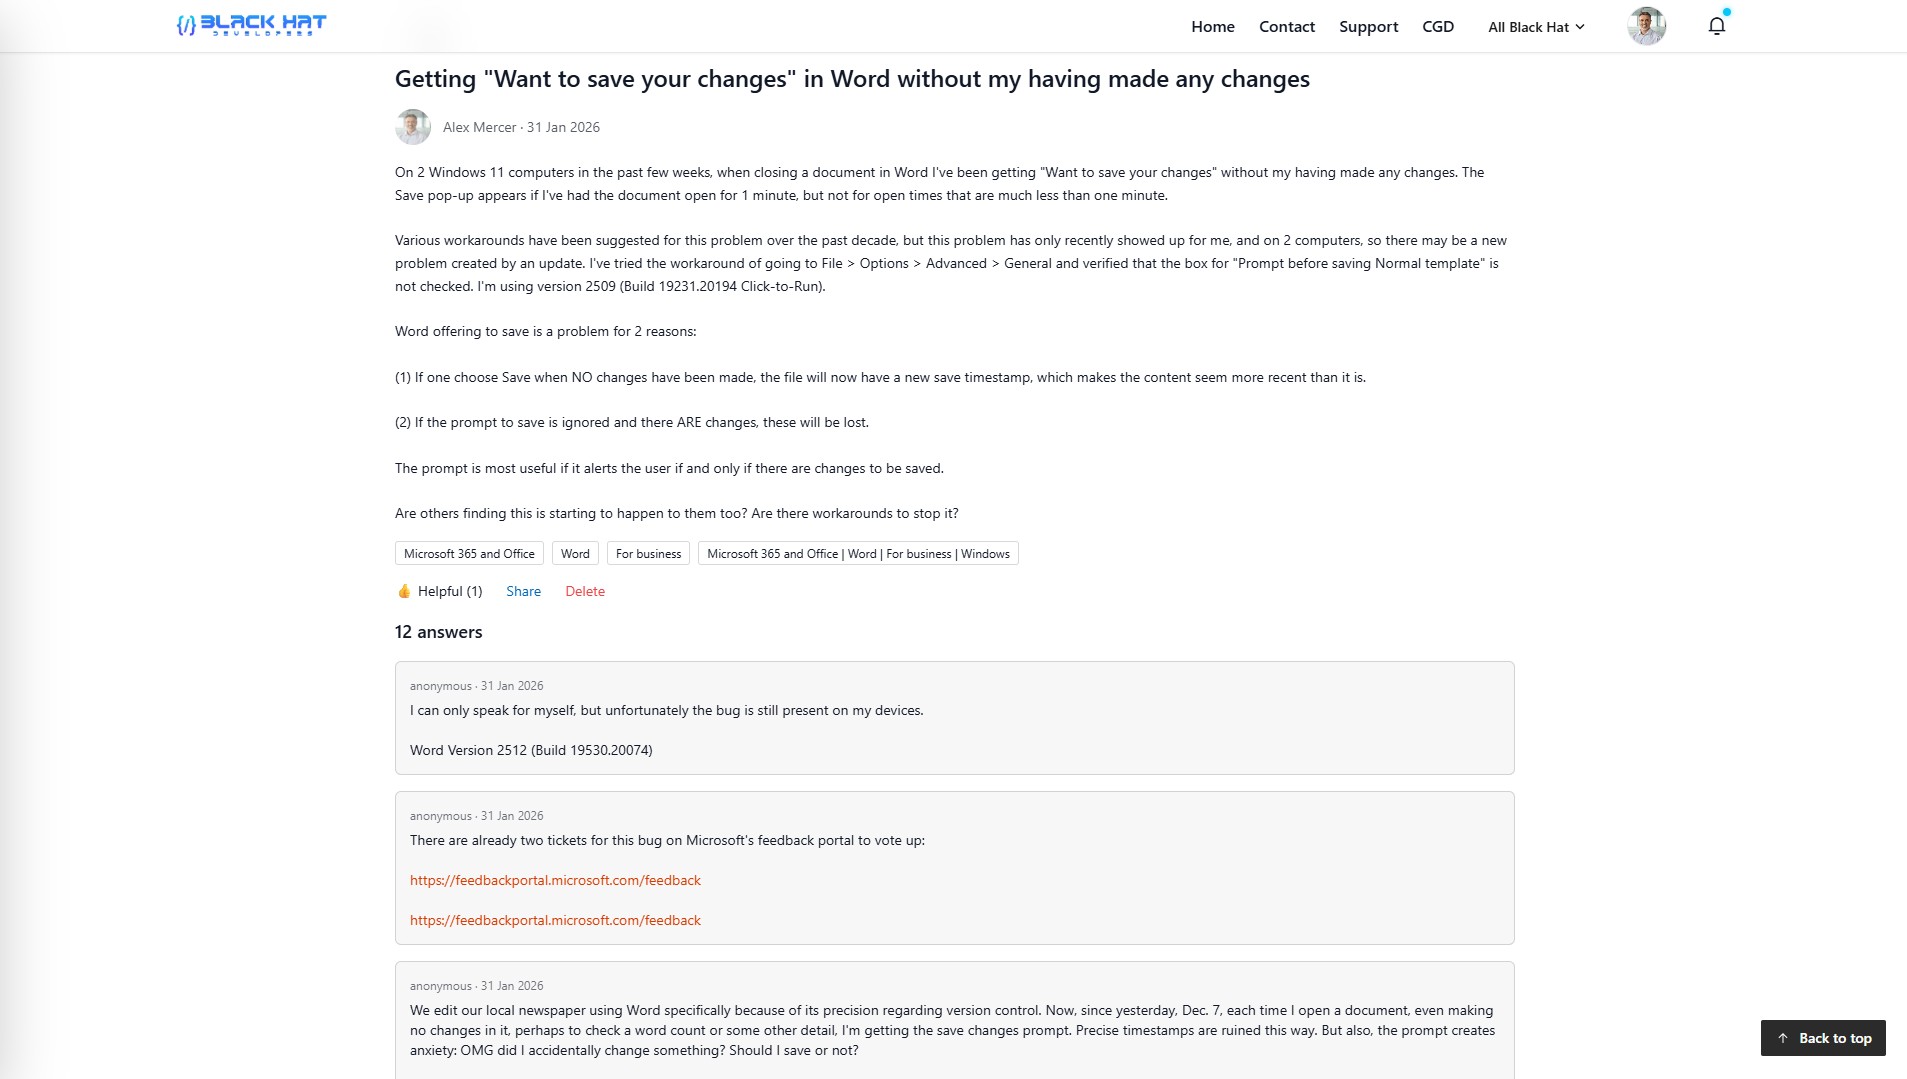
View answers and follow discussions
How to see responses to your question
After posting a question in the Black Hat Developers community, other members can respond with answers, suggestions, and clarifications. You can review these responses, track updates, and continue the discussion directly from your question page.
-
Open the community questions page.
Visit the questions area of the Learning Community where recent and active discussions are listed. -
Locate your question.
Scroll through the list, use the search feature, or apply filters to find your post. You can also access your questions from your profile activity or dashboard if available. -
Open the full discussion.
Select the title of your question to open the detailed discussion page where all answers and comments are displayed. -
Review the answers.
Community members may provide step-by-step solutions, explanations, or code examples. Carefully read each response to determine which one best addresses your question. -
Look for the accepted or highlighted answer.
Some discussions may feature a marked solution that indicates the answer resolved the original issue. This can help you quickly identify the most helpful response. -
Read comments for additional context.
Comments under answers often contain clarifications, follow-up questions, or alternative approaches that can deepen your understanding. -
Monitor for new replies.
You may receive notifications when new answers or comments are added. Revisit your question page to stay updated and continue the discussion if needed.
Engage with the community
If an answer helps you, consider replying with feedback or a thank-you message. Ongoing discussions can lead to improved solutions and help other members with similar questions.
No answers yet?
It may take time for community members to respond. Make sure your question includes a clear title and detailed description. You can edit your post to add more information or clarify your issue.
Trouble viewing answers?
If replies are not loading correctly, try refreshing the page or signing in again. For persistent issues, visit the Support page or Contact us.
Mark answers as helpful
How to show appreciation for useful answers
When a community member provides a helpful response, you can mark their answer as helpful. This helps others quickly identify valuable solutions and encourages contributors to keep sharing their knowledge.
-
Open the question discussion.
Navigate to your question on the Learning Community page and scroll to the list of answers. -
Find a helpful answer.
Read through the replies and look for the answer that best addresses your question or provides useful guidance. -
Click the “Helpful” button.
Below each answer, you will see a Helpful button. Selecting it shows that the answer was useful. -
Your feedback is recorded.
The helpful count will increase, letting other members know the answer is valuable and trusted by the community.

Why marking answers helps
Helpful votes guide other users toward high-quality answers and highlight knowledgeable contributors within the community.
Use this feature responsibly
Only mark answers as helpful if they genuinely assist in solving the question or provide clear and accurate information.
Can’t see the Helpful button?
Make sure you are signed in. If the button is still missing, try refreshing the page or visit the Support page.
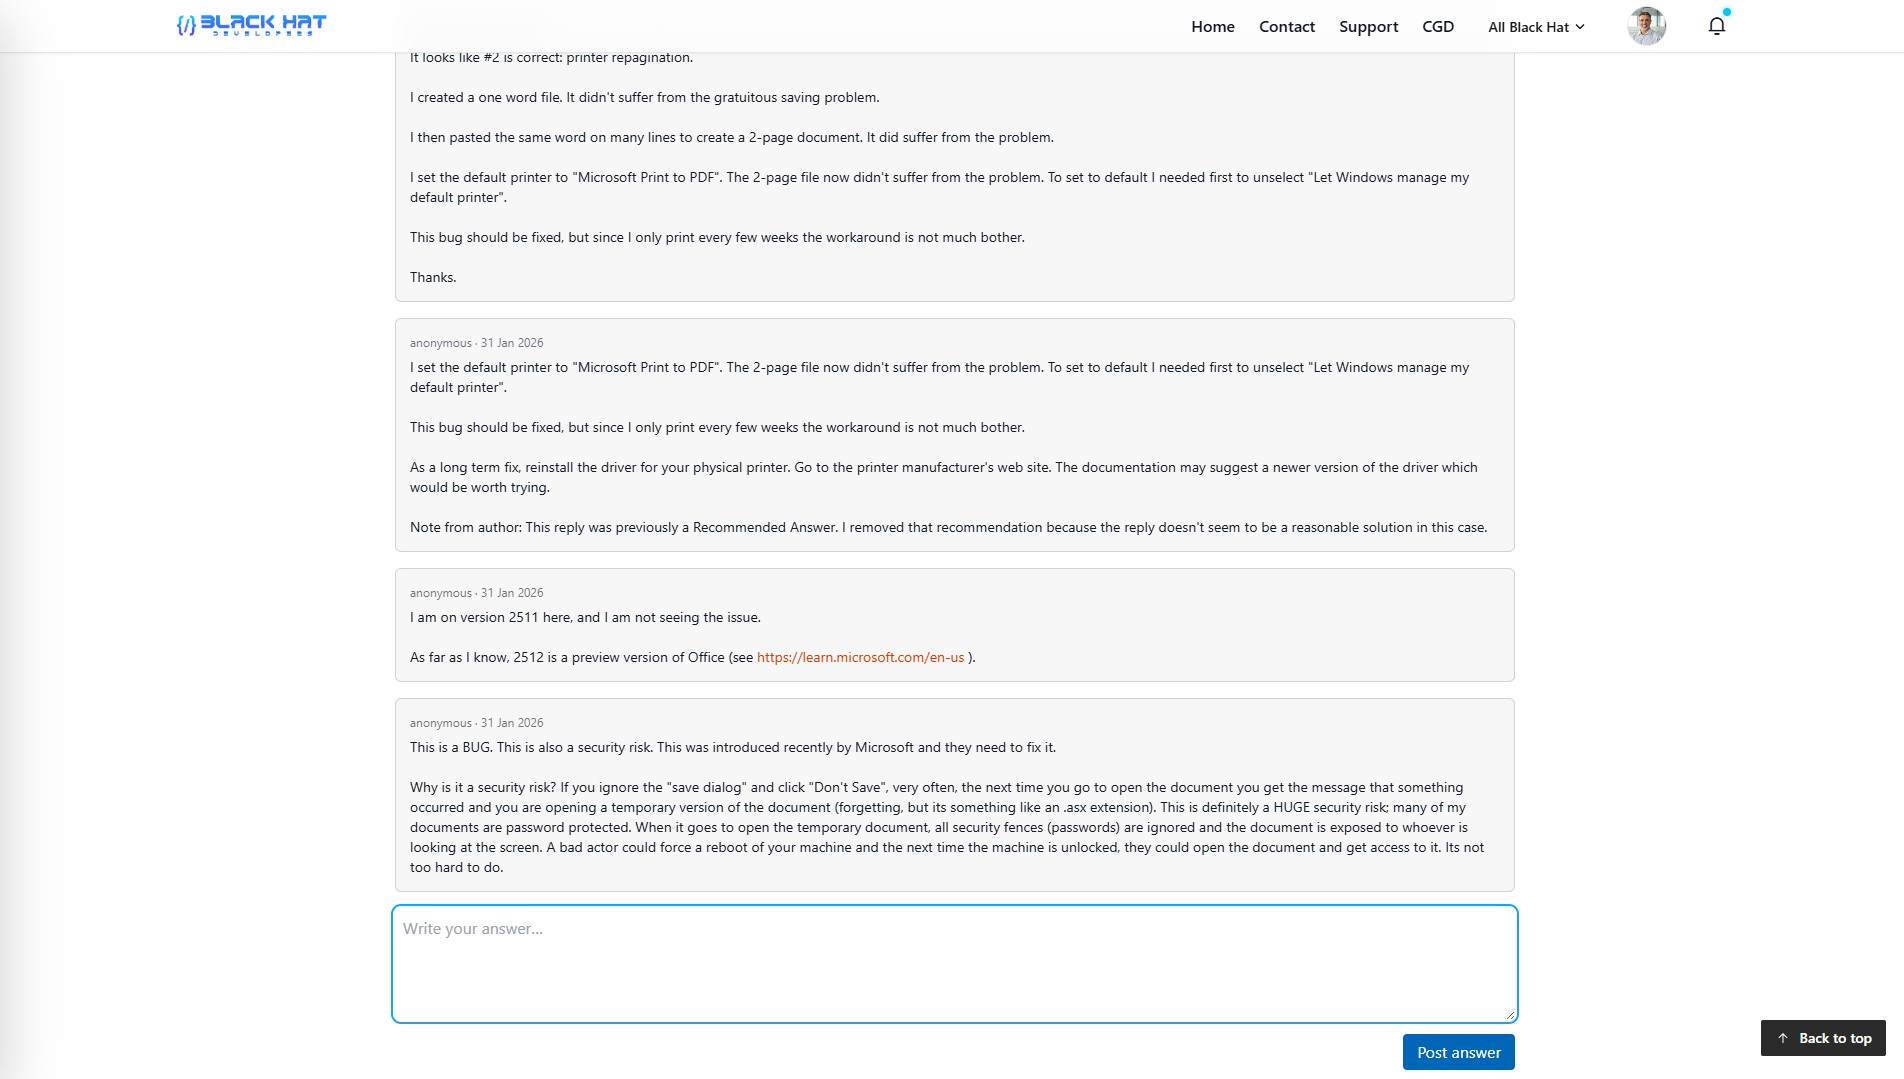
Reply to answers and continue the discussion
How to respond to an answer on your question
Sign-in required to reply
You must be signed in to reply to answers or participate in discussions. If you are not logged in, you will be prompted to sign in before the reply box becomes available.
Replies allow you to ask follow-up questions, clarify information, share results after trying a solution, or thank contributors. Active discussions help improve answers and make topics more useful for future readers.
-
Open the question discussion.
Visit the Learning Community and select the question where you want to reply. -
Scroll to the answers section.
Below the original question, you will see answers provided by other members. Each answer may include a reply option. -
Sign in if the reply box is locked.
If you are not logged in, the system may hide or disable the reply field. Sign in to your account to unlock discussion features. -
Locate the reply input area.
The reply box usually appears directly under an answer or at the bottom of the discussion thread. This is where you can type your response. -
Write a clear and helpful reply.
You can use replies to:- Ask for clarification on part of an answer
- Share additional details about your issue
- Confirm whether a suggested solution worked
- Provide updates or new findings
- Thank someone for their help
-
Use formatting tools if available.
Some reply editors support line breaks, links, or code formatting. Use these features to make technical explanations easier to read. -
Submit your reply.
Click the reply or post button to publish your message. Your response will appear in the discussion and other members can respond. -
Return to follow up.
Discussions may continue after your reply. Check back later for additional comments or questions from other members.
Best practices for replying
- Stay respectful and professional at all times
- Keep replies focused on the original topic
- Provide clear and complete information when adding updates
- Avoid posting repeated or unnecessary replies
When should you post a reply?
Reply when you need more details, want to report whether a solution worked, or have new information that could help others. If your message introduces a completely new issue, consider creating a new question instead.
Reply box not visible?
Make sure you are signed in and your session has not expired. Try refreshing the page. If the issue continues, visit the Support page or Contact us.
Delete your question or post
How to permanently remove your content
Deletion is permanent
Once a question or post is deleted, it cannot be restored. Make sure you really want to remove the content before confirming.
You can delete a question or post that you created if it is no longer needed, contains incorrect information, or was posted by mistake. Only the original author of the content has permission to delete it.
-
Sign in to your account.
You must be logged in with the same account that created the post. The delete option is only visible to the original author. -
Open your question or post.
Navigate to the Learning Community and open the content you want to remove. -
Locate the Delete button.
If you are the author, you will see a Delete option near the top or bottom of the post. The button usually appears next to the Share button. -
Confirm deletion.
After clicking Delete, a confirmation message may appear asking you to verify that you want to permanently remove the post. Confirm to proceed. -
Post is removed.
Once confirmed, the question or post will be permanently deleted from the community and will no longer be visible to other users.

Who can delete a post?
Only the original author of a question or post can delete it. Other community members cannot remove content they did not create.
Don’t see the Delete button?
- You may not be signed in
- You might be logged in with a different account
- You are not the original author of the post
Consider editing instead of deleting
If your post only needs corrections or additional information, updating it may be more helpful than deleting it. Edited posts can still benefit other community members.
Need assistance?
If you are unable to delete your post or believe it violates guidelines, please contact the Support team or use the Contact page.
Share a question with others
How to share a question or discussion
You can share a question with colleagues, friends, or teammates by using the Share button. Sharing helps others view the discussion, contribute answers, or learn from existing solutions.
-
Open the question page.
Navigate to the question you want to share from the Learning Community. -
Locate the Share button.
The Share button appears in the action area near the question or answer. It is typically placed next to the Helpful button. -
Click the Share button.
Selecting Share will copy the direct link to the question or open sharing options depending on your device and browser. -
Send the link.
Paste the copied link into an email, chat message, or collaboration tool so others can open the discussion. -
Recipients can view or join.
Anyone with the link can read the question. If they have an account and are signed in, they can also reply or mark answers as helpful.

Why sharing is useful
Sharing allows you to get input from specific people, collaborate with your team, or keep a reference for future use.
Be mindful of information
Only share links that do not expose sensitive or private information. Community posts are typically visible to other members.
Share button not working?
Try refreshing the page or copying the URL directly from your browser’s address bar. If problems continue, visit the Support page.